Obliteration Cake: A Recipe from Probably This
Beau Ciolino and Matt Armato serve up an art-inspired recipe for our ongoing series on parties.
Editor's Note
You can’t throw a great party without food to match. We asked Beau Ciolino and Matt Armato, who run the cooking and lifestyle blog Probably This, to create a recipe inspired by a work of art for our series on the art of partying. They came up with an interactive and delicious dessert that allows you to celebrate our fifth birthday from your own kitchen.
Last year, Japanese artist Yayoi Kusama brought her interactive installation The Obliteration Room to David Zwirner in New York. For the exhibition, Kusama provided a stark white room with simple white furniture. She asked visitors to place small multi-colored stickers wherever they pleased—on the walls, on the floor, on the furniture—creating a collaborative piece of remarkably colorful art that allowed the viewers’ eyes and hands to transform the gallery completely.
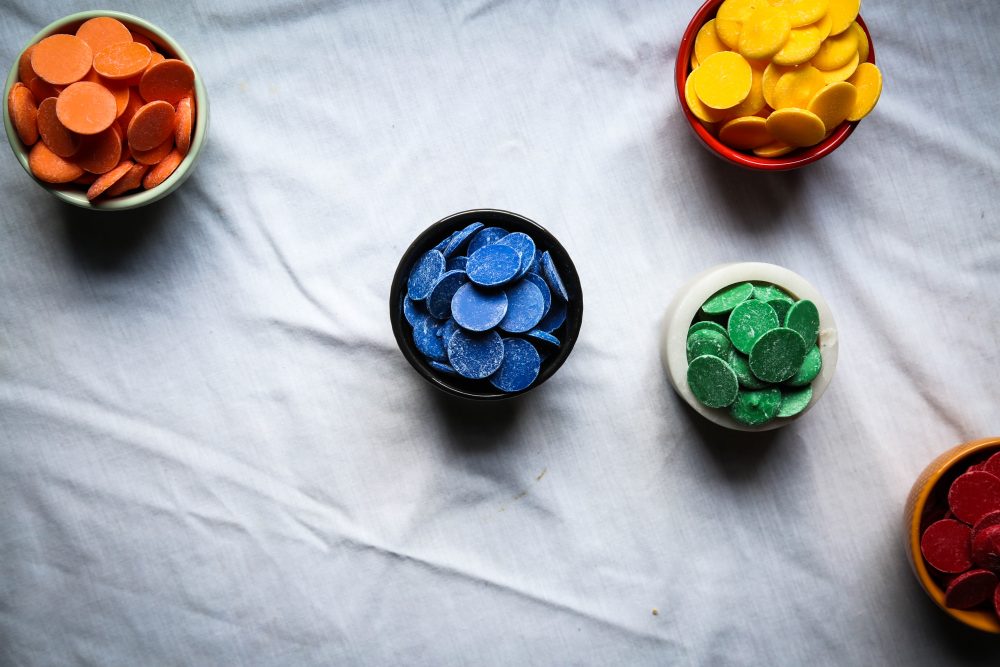
We’ve taken inspiration from Kusama and created our own blank canvas, a cake to be “obliterated” by small disks of multicolored white chocolate. Like Kusama’s Obliteration Room, the process of decorating the cake is meant to engage your party guests. (Our version is much tastier, though!) We’ve included photos from our own Obliteration Cake party, along with a recipe and instructions for throwing your own.

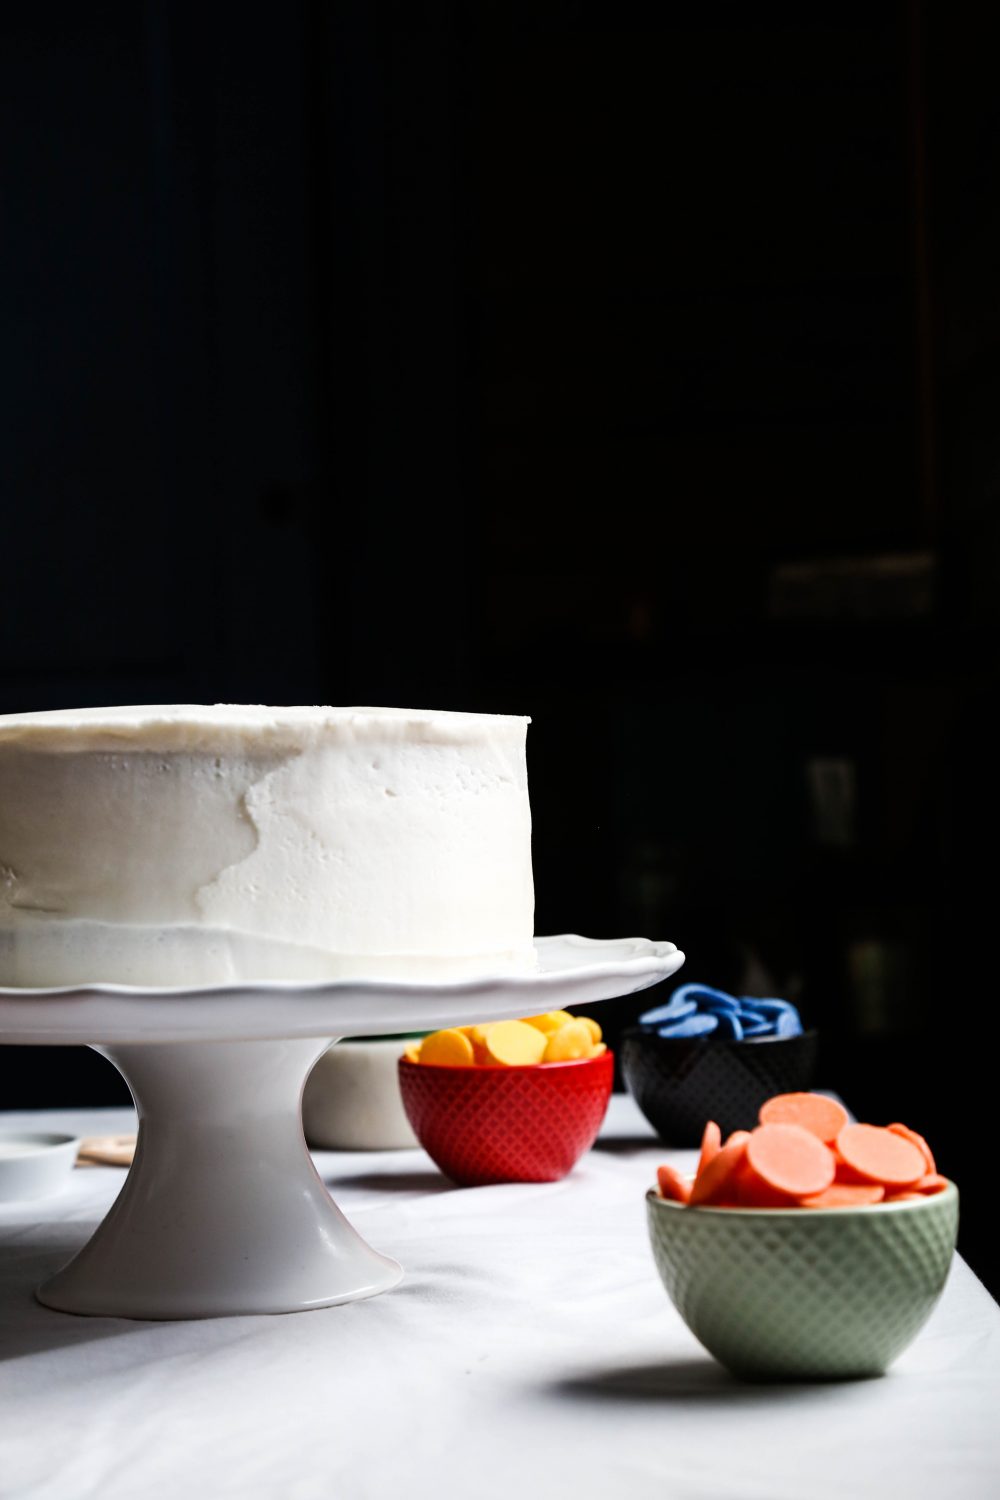
Obliteration Cake
Serves 8 - 12
Cake (3 Layers)
- 3 sticks of unsalted butter, softened
- 3 cups granulated sugar
- 5 eggs, room temperature
- 3 cups all-purpose flour
- 2 teaspoons baking powder
- ¼ teaspoon salt
- ½ cup whole milk
- ½ cup full-fat yogurt
- 1 teaspoon vanilla extract
- ½ teaspoon orange extract
- ½ teaspoon almond extract
- ⅓ cup multicolored sprinkles
Icing and Decorations
- 1 stick unsalted butter, softened
- 4 cups powdered sugar, sifted
- 3 tablespoons whole milk
- ½ teaspoon orange extract
- ½ teaspoon almond extract
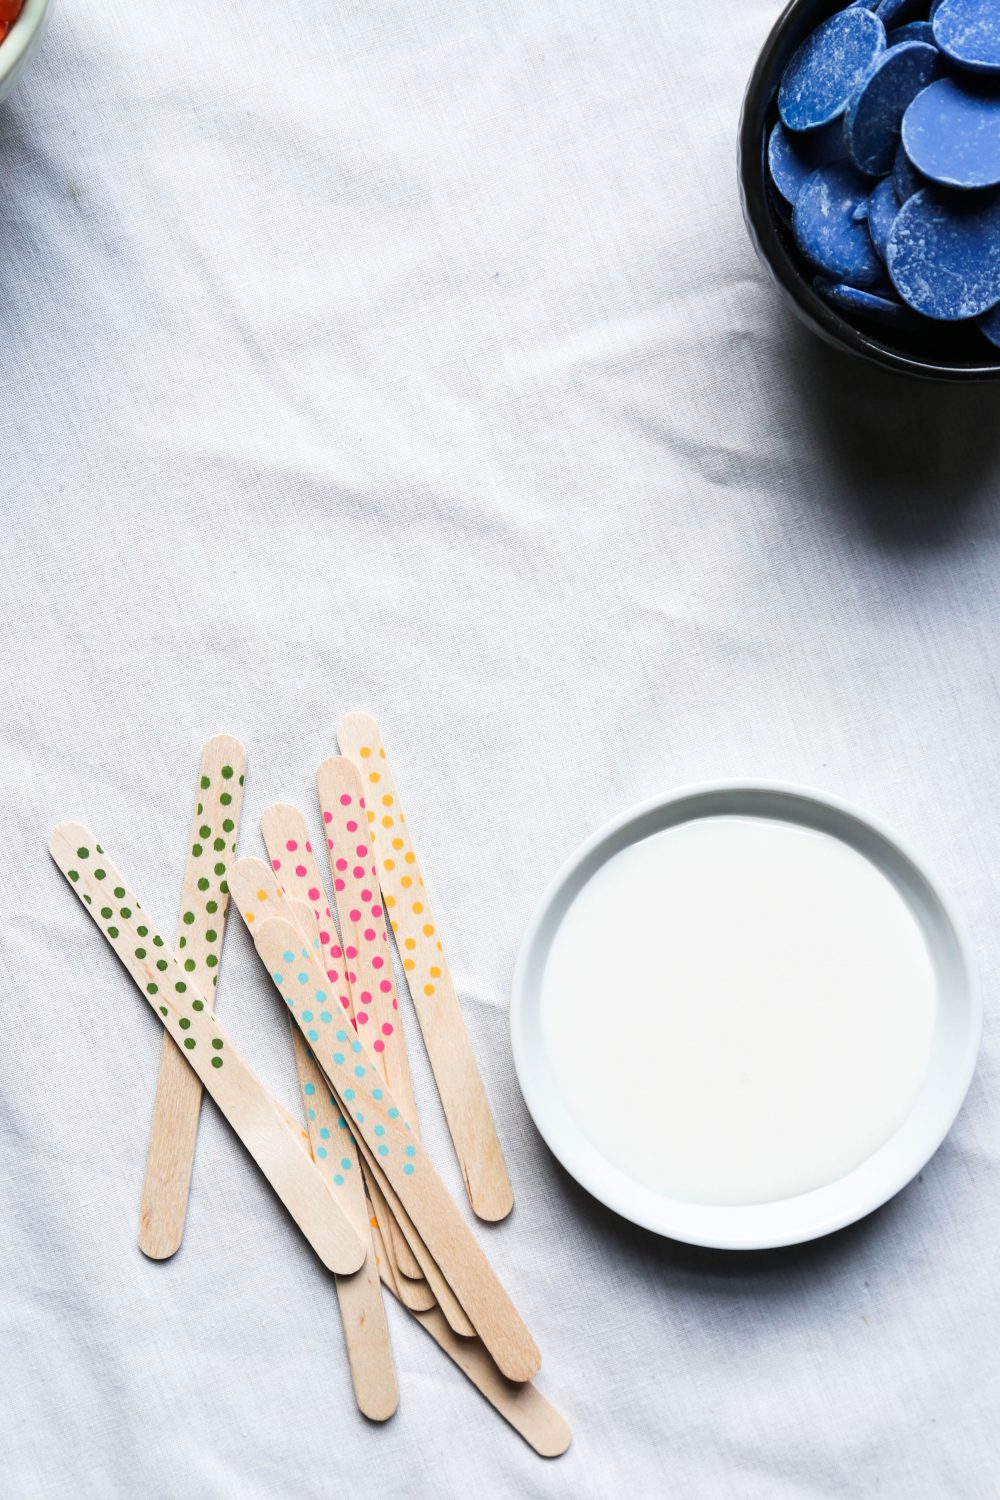
- Several colors of round white-chocolate candy melts
- Royal icing (The icing and candy melts can be found at most baking or craft-supply stores.)
- Preheat the oven to 350 degrees and line three 9-inch cake pans with parchment paper and a little non-stick cooking spray or butter.
- In the bowl of a stand mixer, or using a hand-held mixer, cream together butter and sugar until pale and fluffy, about two minutes, occasionally stopping the mixer and scraping down the bowl with a spatula. Add eggs, one at a time, beating between each addition to fully incorporate them.
- In a separate bowl, sift together flour, baking powder, and salt. In another bowl, whisk together the milk, yogurt, and extracts. Add the flour mixture and milk mixture to the creamed butter in alternating scoops, beating between each addition. Gently stir multicolored sprinkles into the batter.
- Pour cake batter evenly into prepared pans and bake for 25 - 30 minutes, until slightly golden on top and a fork comes out crumb-free. Let cool to room temperature on a wire rack.
- While cakes are cooling, prepare the frosting by creaming the butter until fluffy, about one minute. Sift in the powdered sugar one cup at a time, adding a half tablespoon of milk whenever the mixture looks crumbly or dry. You may not need to use all of the milk. Once the sugar has been completely added, beat in the extracts and turn the speed to high for two minutes.
- Ice the cakes to your preference and set the iced cake out with a bowl of royal icing and the white-chocolate candy melts. Invite your guests to apply a small dot of royal icing on the back end of a white chocolate candy wafer and to secure it to the sides and top of the cake. After assembling the cake, slice and enjoy!